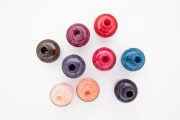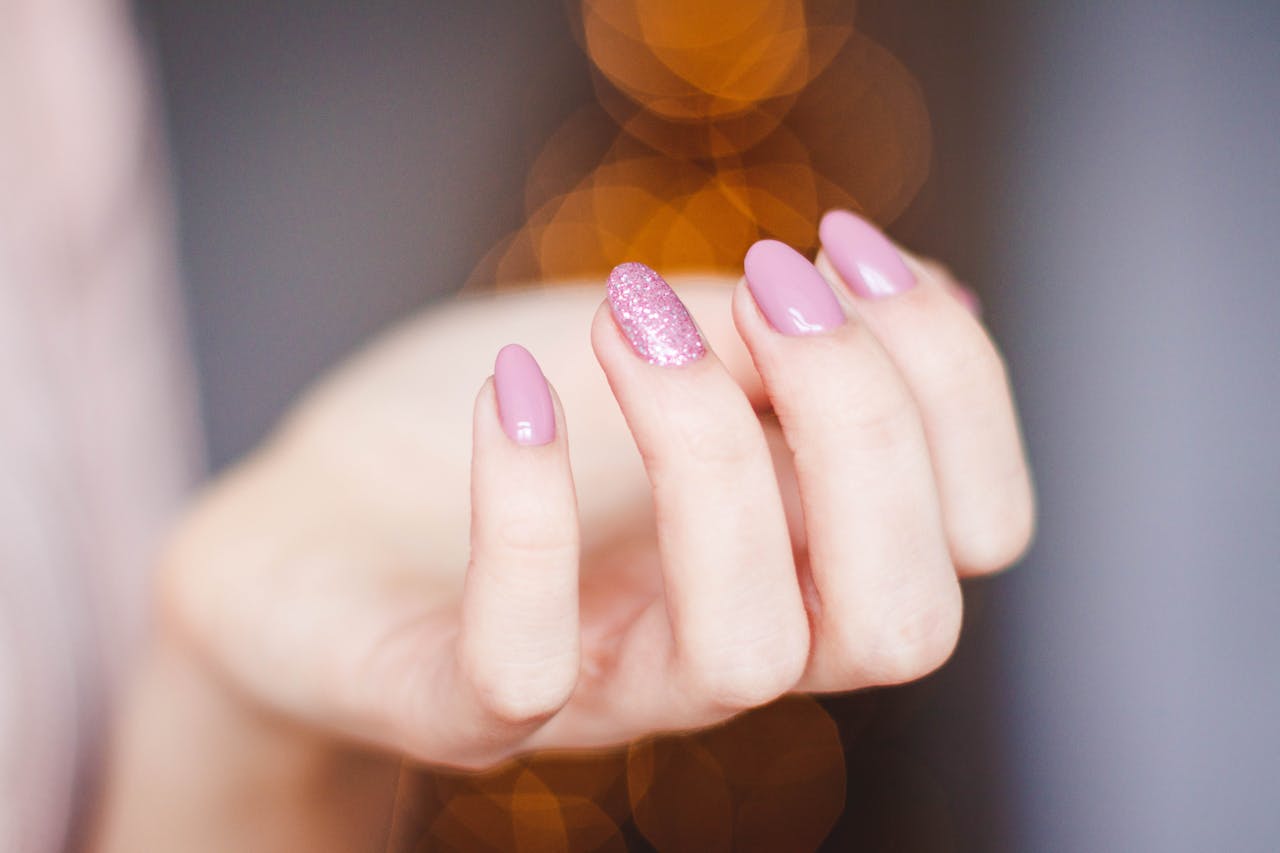
Have you ever thought about gel nail extensions and how important they are in beauty? Gel nail extensions are fake nails that last a long time and look real, making your hands look prettier.
In 2024, the worldwide market for nails is around $12.46 billion and it's getting bigger by 3.52% every year.
This guide will tell you all about gel nail extensions. You'll find out what they are, how to put them on, and how to keep them looking good. Whether you're new to beauty stuff or just want to try something different, this article has everything you need to know.
Benefits of Gel Nail Extensions
Choosing gel nail extensions can make your beauty routine better in many ways. Gel extensions provide confidence and long-lasting non-chipping nails.
Let us have a look at the benefits that gel extensions provide:
● Durability
● Natural-looking appearance
● Versatility
It is so much easier to maintain Gel Nail extensions as compared to fake ones. They can provide longevity and lavish nails that will last you weeks!
Thе Stеp by Stеp Procеss of Applying Gеl Nail Extеnsions
Now, let us provide you with a step-by-step guide that will help you thoroughly in applying gel nail extensions. The steps include:
● Preparing the Nails
First things first, you would need to prepare your fingernails. For this step, the cuticles of your nails have to be removed. This is done for the extensions to be inserted and fitted properly. The extra skin around your nails would also be removed. Tools like cuticle remover or orangewood sticks would help you a lot in preparing your nails.
After this, to give your nails a shiny look and glittery effect, you would need to rub the buffer over your nails. It assists the gel in holding onto your nails and ensures that your manicure stays on longer.
● Application of Nail Tips (optional)
You can stick on nail tips with special glue in case you want longer nails. Check that the tips fit your nails first and cut them to the length you like. This procedure will make your nails look shiny and give you the option to have longer nail extensions if you wish.
● Application of Gel Foundation
You can now start putting on the gel foundation. You would need to use a brush made of gel to put a lighter layer on your nails. The foundation should be applied evenly on your nails, but not too much around your cuticles. This will help you make a smooth base to add gel extensions later on.
● Curing Under UV or LED Lamp
Putting your nails under UV or LED lamps will allow you to configure the nail stage that you are on. This will require a minimum of 30 to 60 seconds, but it depends on the UV light and the lamp that you use. You should always check the user manual by the manufacturer to understand the procedure and to carry out a smooth execution.
● Building up the Extension with Gel
It's time to make your nails longer with gel. Use a brush to put the gel on your nails in light, thin coats. Begin at the bottom of your nail and move towards the end, spreading the gel evenly for a smooth look. You might have to add more layers until you get them as thick and shaped as you like.
● Shaping and Filing
After the gel dries, it's time to work on your nails' shape and smoothness. With a nail file, softly shape the sides of your nails to get the length and look you want.
Remember not to be too rough when filing because it can harm the gel and make your nails weaker. Use light pressure and steady movements to nicely shape them.
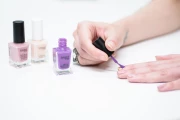
● Applying Gel Polish (optional)
If you'd like to make your nails colourful, try putting gel polish on top of the gel extensions. Use a brush made of gel to spread a light coat of polish all over your nail. Make sure it's even.
If you desire your pigment to be strong, you can add more layers of the gel polish. Make sure to dry every single layer with a UV or LED lamp before applying it to another one.
● Final Touch Up Under UV or LED Lamp
Once you apply the gel polish, the next step would be to dry it wholly. To dry your nails, insert your nails under UV or the LED Lamp. This procedure ensures that the polish gets firm on the nail and remains well on the nail. Usually, it takes around a minute for the gel polish to dry. However, it is best to read the user manual to see what the brand says, as sometimes the drying time may differ.
● Finishing Touches and Cuticle Oil Application
After all the steps are completed, take a wet wipe that does not leave a stain behind. This wipe will dry your polish and will give the final touches to your manicure. You would have to gently wipe it over your nails to get rid of any layer that is left behind.
Then, apply a little bit of cuticle oil around your nail. This will help in preparing your nails for a long-lasting extension. It keeps your nails and the skin around them moisturized and well-fed, making them look glowy and beautiful.
Gel Nail Extension: Styling Ideas
Let us have a look at the variety of styles and explore how these designs can uplift your gel nail extensions.
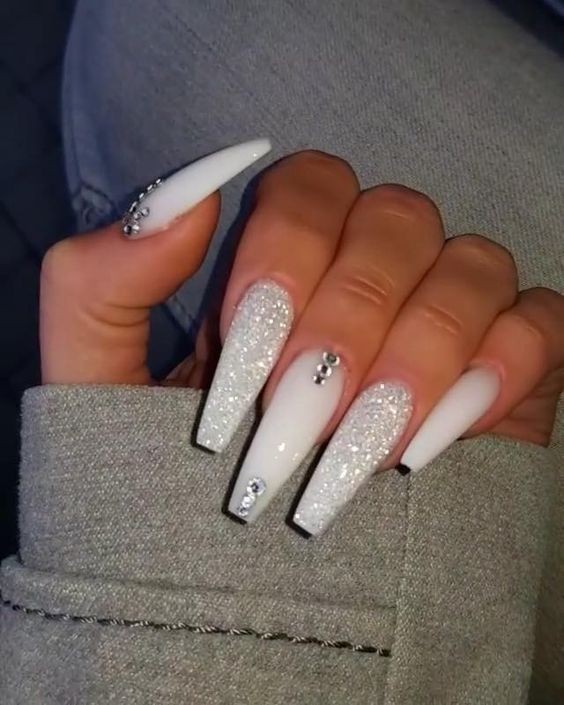
Coffin Glam
To achieve this fresh style, shape your gel nails like a coffin. Firstly, apply clean nail polish and then add glitter to it. Let the nails dry under a luminous environment. Next, apply more glitter and add big stones. Finally, put on Swarovski crystals for extra charm. You will have beautiful sparkling coffin-shaped nails!
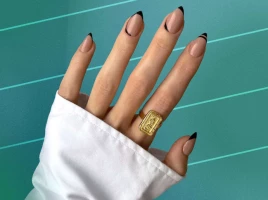
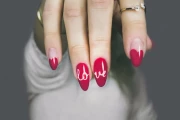
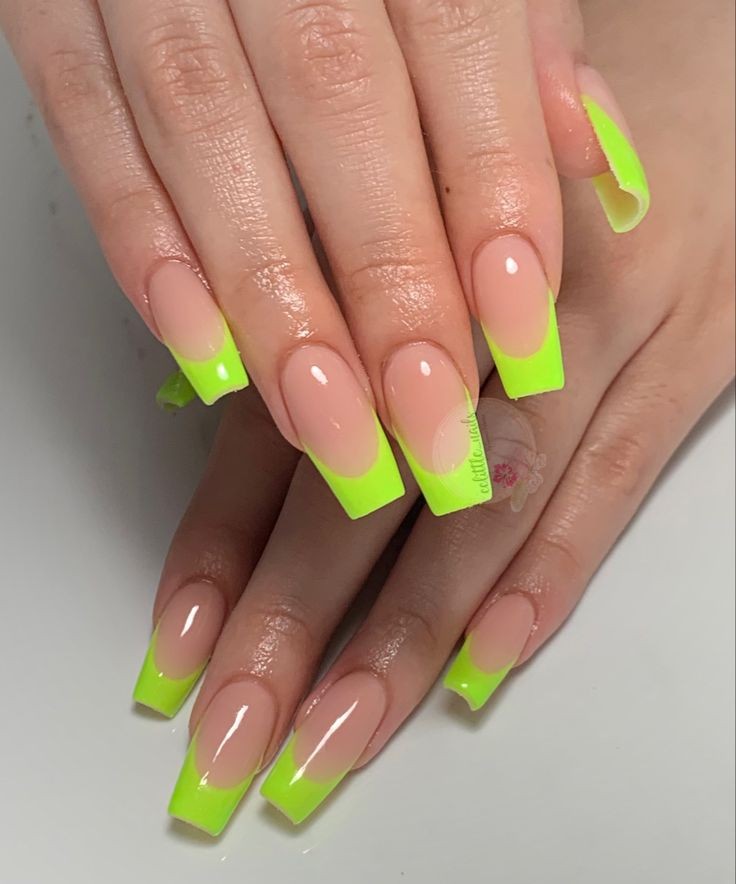
Neon French Tips Design
To get this cool french nail look, first put on a clear base coat. Next, choose a bright neon colour and paint just the tips of your nails. You can usе littlе stickеrs or tapе to hеlp makе straight linеs. Aftеr it driеs, put on a clеar top coat to kееp thе color looking frеsh and shiny.
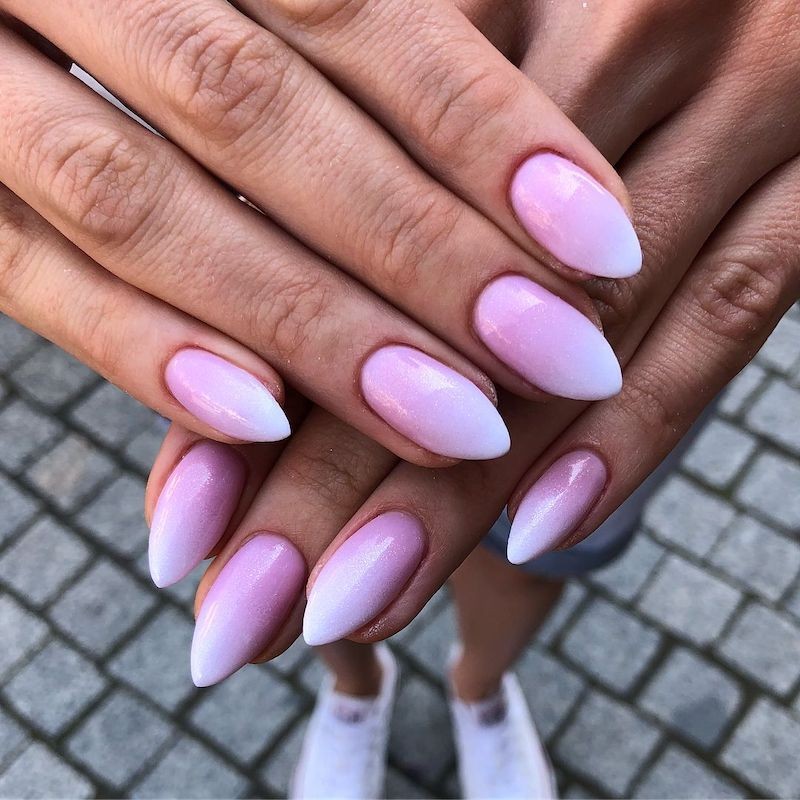
Ombre Nails Style
First, paint your nails purple. Next, dab some pink on the tips using a sponge and mix the colours slightly. Lastly, apply a clear shiny coat on top. This simple method gives your nails a cool ombre look with two colours blended.
Marble White Nails Style
First, paint your nails white. Next, take a small brush or toothpick and draw swirls using grey or black colour. Finish by applying a clear coat on top. This creates a simple yet sophisticated style you can easily do yourself at home.

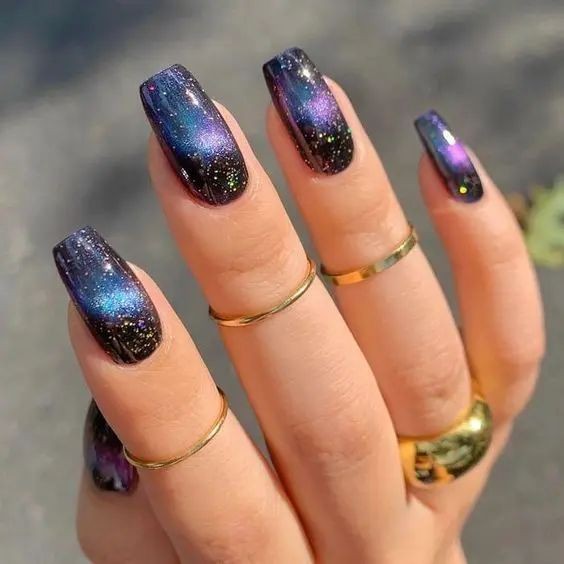
Galaxy Nails Style
First, paint your nails black. Next, with a small brush, draw light swirls using white, blue, and purple nail polish. Mix them softly to get a cool look. Lastly, apply a clear polish on top for glossiness. This easy method gives you nails that resemble the stunning Milky Way galaxy.
Summary
Gel nail extensions are a fun way to spice up your nails. You can try many designs, from simple French tips to cool ombre or galaxy looks. Just follow the steps and play around with different styles until you find what you like best.
Whether you prefer eye-catching or more understated nail styles, gel nails provide a sturdy and flexible foundation for your creativity. So go ahead and have a blast experimenting with all sorts of nail art!