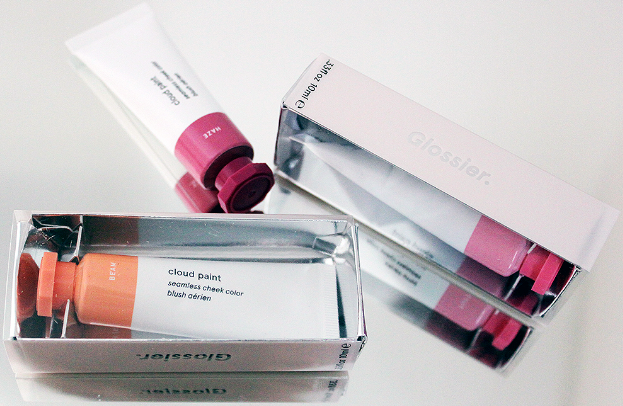
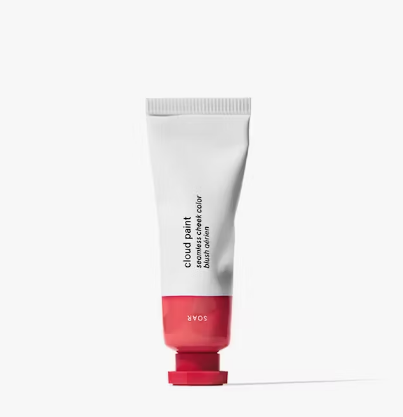
Glossier has always been my go-to for so many holy-grail products, whether it was their extremely effective jelly cleanser or it’s their new foundation I have never been disappointed ever. And Glossier Cloud Paint is no exception. When I first spotted the Glossier Cloud Paint taking over the internet a few years back, without any hesitation I ordered it and was so so excited to test it. So, when I finally received my order and was about to unpack it I just instantly fell in love with the packaging already. Now, the thoughts of mine were “will it be equally beautiful from the inside?” Let me answer that, Yes! One hundred percent yess! I automatically started adoring my cheeks right after I applied the first ever Glossier Cloud Paint of mine. And everybody saw me wearing that specific shade for the whole damn year and of course I got a lot of compliments about the rosy cheeky look, and the questions like “what cheek tint you use?”. Who doesn't love these kinds of compliments and questions?
How To Get Rosy Cheek Look With Glossier Cloud Paint
So, ahead let me tell you how to get that rosy cheek look with Glossier Cloud Paint in a few simple steps. It’s too simple and needs only a little focus of yours, so have a look ahead and know how to get the perfect makeup look.
Step 1: Choose the Right Shade
Glossier Cloud Paint comes in a variety of shades, each designed to mimic the natural flush of your cheeks. Before you start applying, choose a shade that complements your skin tone and the look you're aiming for. Popular shades include Puff for a light pink hue, Dusk for a subtle nude, and Beam for a peachy glow.
Step 2: Prep Your Skin
Before diving into the Cloud Paint application, ensure your skin is clean and moisturized. Applying makeup to well-hydrated skin helps the product blend seamlessly, giving you a more natural and dewy finish.
Step 3: Use A Pea-Sized Amount
Glossier Cloud Paint is highly pigmented, so a little goes a long way. Squeeze a small, pea-sized amount onto the back of your hand. This allows you to control the amount of product you're applying and ensures you won't overdo it.
Step 4: Dot and Blend
Using your fingertip or a makeup sponge, gently dot the Cloud Paint onto the apples of your cheeks. Start with a small amount, as you can always add more if needed. The warmth of your fingers helps the product melt into your skin for a seamless finish.
Step 5: Blend Outward
Once you've dotted the product on, blend it outward towards your temples. The goal is to create a natural gradient that mimics the way your cheeks naturally flush. Take your time blending to avoid harsh lines and achieve a soft, diffused look. If you desire a more intense rosy hue, feel free to build up the product. Add a tiny bit more Cloud Paint to the apples of your cheeks and blend again until you achieve the desired level of rosiness.
Step 6: Set with Powder (Optional)
While Glossier Cloud Paint has a long-lasting formula, you can choose to set your rosy cheeks with a translucent setting powder for extra longevity. This step is particularly useful if you have oily skin or if you want to ensure your rosy glow stays put throughout the day.
Conclusion
Just like I got my hands on Glossier Cloud Paint and never turned back, you will most probably do the same when you buy one for yourself. The best thing about this Cheek tint is that it comes in a variety of colors that are suitable for every skin tone and makeup preferences. From rosy pink to nude pinks and from orange shades to reddish, you will find a variety to create perfectly rosy cheeks in a few simple steps we have explained above. So, why wait? Go grab one of your favorite shades of Glossier Cloud Paint and achieve the perfect makeup look every time.
UP NEXT: The Ultimate Guide To Maximizing Your Glossier Makeup Bag

